Cleaning drawers feels like a small task that somehow becomes a giant project when you have to remove everything. Fortunately, there are efficient ways to tidy and sanitize drawer interiors without emptying all their contents. Below is a practical, step-by-step approach that saves time and keeps your items organized.
Why clean without emptying?
Emptying a drawer can be disruptive—especially when it contains fragile, stacked, or many small items. The best way to clean inside drawers without emptying everything:
- Reduces the risk of items falling, breaking, or getting misplaced.
- Saves time when you’re doing quick maintenance.
- Helps you maintain order by allowing you to clean in place, moving only what’s necessary.
What you’ll need
Gather a few simple tools before you start:
- Small baskets or shallow boxes (to temporarily corral moved items)
- Vacuum with a crevice tool or a hand vacuum
- Microfiber cloths
- Mild all-purpose cleaner or diluted dish soap
- Cotton swabs or old toothbrush for corners
- Lint roller or small paint roller (for crumbs and lint)
- Drawer liner (optional, for future protection)
Step-by-step method
Prepare one drawer at a time
Focus on a single drawer to avoid spreading the mess. Open it fully and assess what’s inside.Corral items into sections
Rather than emptying the drawer, create small “zones.” Use a basket or shallow box to gather loose items from one side or one section. This leaves the rest of the drawer intact and organized.Remove obvious debris
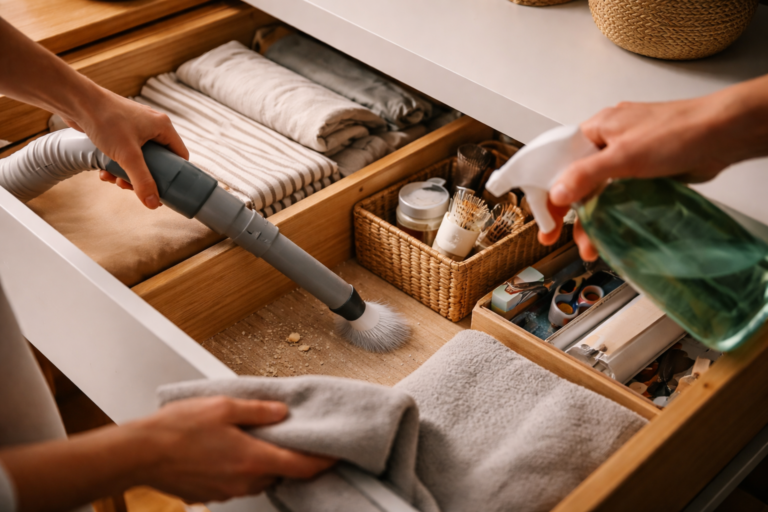
Use a lint roller or small paint roller to pick up crumbs, pet hair, and lint from around the items that remain. Because you’ve shifted items into sections, it’s easier to reach trapped debris.Vacuum corners and crevices
With items moved to one side, run the vacuum crevice tool along the exposed edges and corners. For tight areas, use a cotton swab or toothbrush to dislodge dirt and then vacuum.Wipe surfaces
Lightly spray a microfiber cloth with a mild cleaner or soapy water and wipe the exposed parts of the drawer. Work in sections: clean the cleared area, then shift your corralled items and clean the next. Avoid soaking wooden drawers—use just a damp cloth.Clean drawer fronts and runners
While the inside is half-exposed, wipe drawer fronts and the runners. For sticky residue on runners, use a small amount of dish soap on a cloth, then dry thoroughly. Lubricate metal runners if needed.Replace or add a liner
If you use drawer liners, cut them to size and slide them in as you clean each section. Liners help catch crumbs and make future cleaning faster.Return items thoughtfully
Put items back one section at a time, taking the opportunity to discard trash or expired items. Use organizers or small dividers to maintain separation and reduce shifting.
Quick tricks for specific drawer types
- Kitchen drawers: Use drawer dividers to keep utensils in place. A handheld vacuum followed by a damp cloth works well for crumbs and oil.
- Dresser drawers: Fold clothes vertically to create pockets that make spot-cleaning easier. A lint roller removes hair and lint without shifting folded stacks.
- Office drawers: Use small tins or trays to keep paperclips, pens, and chargers contained so you can clear one tray at a time for cleaning.
Prevent future mess
- Line drawers with washable liners or silicone mats.
- Use small containers or modular organizers to keep items stable.
- Schedule a quick drawer tidy once a month to avoid buildup.
- Store fragile or perishable items in dedicated containers that can be fully removed when a deeper clean is needed.
Final tips
Cleaning in stages is the core idea—move only what you must. The best way to clean inside drawers without emptying everything is to work in zones, use simple tools like a lint roller and vacuum crevice tool, and introduce organizers that keep items from shifting. With a bit of planning, you’ll keep drawers clean and orderly without the hassle of a full empty-and-refill session.